WebGL tombstone - part 2
In the previous post we looked at how to link up a 2D HTML canvas with an object in a 3D scene, so that when we drew on the canvas, the drawing would appear on the surface of an object in the 3D world.
Specifically, we were painting onto a tombstone. Today, we’ll look at how to write our own WebGL shaders to do something a little more interesting: carving out the rock, based on what is drawn on the canvas.
You can play around with the live demo to get a better idea of the differences, use the “Toggle carving” button to switch carving on or off.
Custom material
When we were just displaying a flat slab of rock, we used one of THREE.js’s built-in materials, to which we passed our stone texture. To get our carving working, we’ll need to create our own material, with custom vertex and fragment shaders (written in GLSL).
If you haven’t worked with GLSL before, check out this post for an introduction.
Briefly, a vertex shader is a bit of code that will be invoked on the GPU for each vertex that is drawn. It allows us to change the shape of an object. The vertex shader must set the gl_Position variable to the location at which the vertex should be drawn.
The fragment shader is invoked for each pixel that is drawn. Here we can choose what color the pixel will have. The fragment shader must set the gl_FragColor variable to the color to be drawn.
To create a simple custom material we’ll do this:
simple: new THREE.ShaderMaterial( {
  uniforms: {
    uColor: { type: "c", value: new THREE.Color( "#ff0000" ) }
  },
  vertexShader: shader.vertex.simple,
  fragmentShader: shader.fragment.simple
}),
The uniforms object is used to pass values (in this case, a solid color) into the fragment and vertex shaders, while the shaders themselves are defined by vertexShader and fragmentShader. Let’s take a look at these:
void main() {
  gl_Position = projectionMatrix * modelViewMatrix * vec4(position, 1.0);
}
This is our vertex shader, which doesn’t do anything to the vertices, apart from transform them according to the rotation and location of our object and the position of the camera. This is pretty much the simplest vertex shader you’ll use with THREE.js. The variables projectionMatrix, modelViewMatrix and position are all passed in by THREE.js.
uniform vec3 uColor;

void main() {
  gl_FragColor = vec4(uColor, 1.0);
}
This is the fragment shader, which just colors in every pixel with the same color, uColor. Here’s the result, applied to our tombstone:
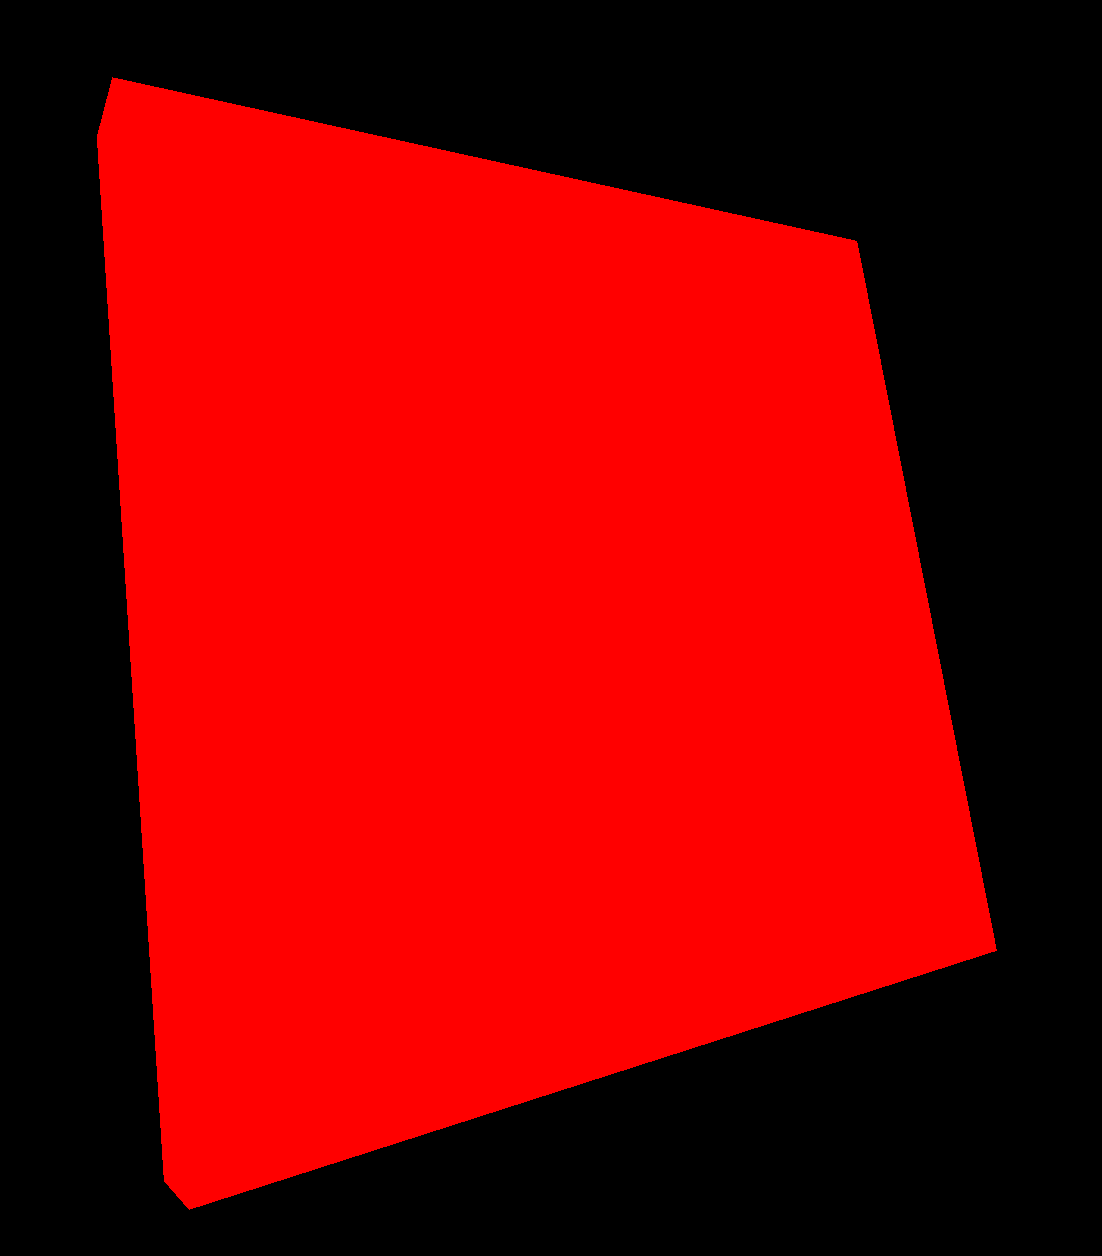
Bring back the texture
This may seem like a step back, we used to own a pleasant piece of rock, while now we just have a solid block of red. Let’s being back the texture.
The first thing we need to do is pass in the texture itself, so the fragment shader can read it. To do so, we use a sampler2D object. First we modify the uniforms hash to include:
uTexture: { type: "t", value: texture.stone1 }
…and then pull it in the fragment shader, like so:
uniform sampler2D uTexture;

varying vec2 vUv;

void main() {
  vec4 color = texture2D(uTexture, vUv);
  gl_FragColor = vec4(color);
}
The texture2D function takes a sampler2D object, in this case our stone texture and pulls out the color value at a set location, given by the second parameter, here vUv. Recall, that the fragment shader processes each pixel individually, which is why we need to retrieve the color at a specific location in the texture.
So what is vUv, and where does it come from? vUv is a 2D vector, which describes a position in texture coordinates, u and v. These range from 0 to 1, so a value of vec2(0.5, 0.5) corresponds to the center of the texture. vUv isn’t passed into our fragment shader by default, we need to pass it in from our vertex shader. This is simple enough, as our vertex shader is passed this information in the uv parameter, by THREE.js. Think of this as THREE.js telling our vertex shader how to map the texture onto our set of vertices.
To pass vUv onto the fragment shader we’ll just do:
varying vec2 vUv;

void main() {
  gl_Position = projectionMatrix * modelViewMatrix * vec4(position, 1.0);
  vUv = uv;
}
Notice that in order to pass information from the vertex shader to the fragment shader, we used the keyword varying, while when passing in the texture we used uniform. This makes sense, as the value of vUv varies across the vertices (and thus pixels) of our object, while the texture itself is constant.
One final note: in most cases we will have more pixels to draw than we have vertices, in this case, what value of vUv will the pixels that are not at the exact position of a vertex receive? The answer is that the GPU will automatically interpolate the value of vUv based on how close we are to nearby vertices. A simplified way of thinking about this is that, if we are drawing a pixel that is halfway between two vertices, vUv will be the average of the values of vUv at each of these vertices.
Phew, that was quite a lot to cover just to display a texture, something we previously did in one line of code. But it is worth it, with this basic shader under our belt, we can start doing something interesting with our vertex and fragment shaders.
Deformations
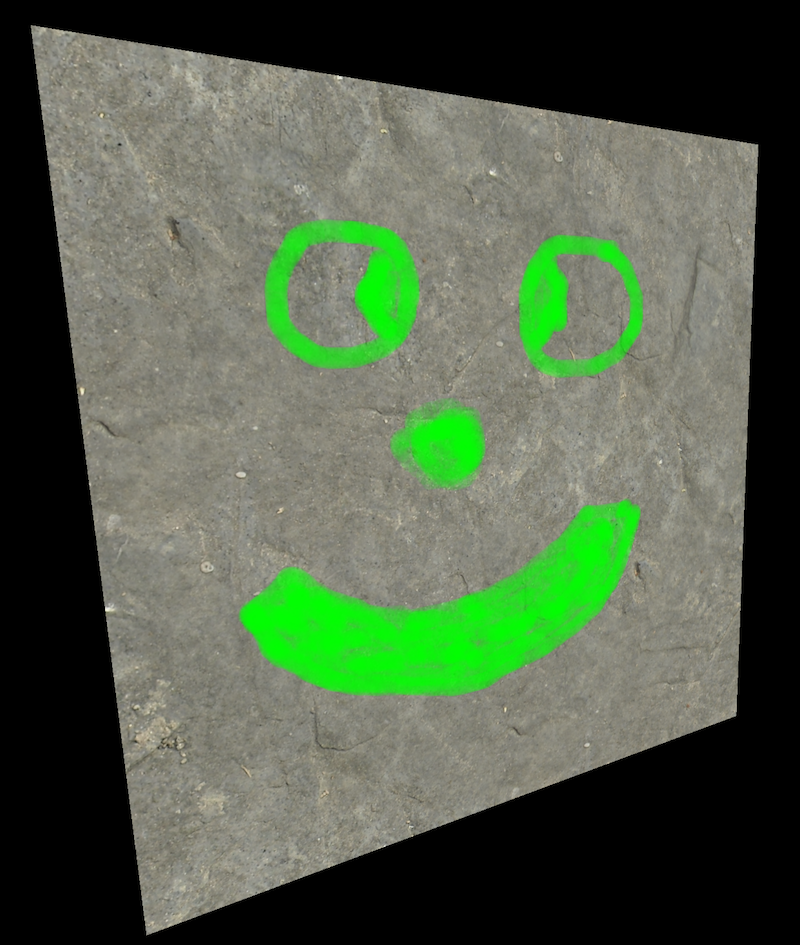
In the last section, we got our stone texture displaying again. Now we’ll look at deforming our mesh, so that the bits of our canvas that we’ve drawn on appear deeper that those that we have not. The procedure is pretty straightforward:
- We’ll pass in a texture that represents the state of our drawing canvas
- For each vertex, we’ll use the
uvvalue to retrieve the correct displacement for that location - We’ll modify the position of the vertex, by moving it in a direction perpendicular to the surface
We’ve covered techniques required for the first two steps already, but what about displacing a vertex perpendicular to the surface? Helpfully, THREE.js passes in a vector, normal which gives us exactly what we need: the direction perpendicular to the surface, also known as the normal vector. So, our vertex shader becomes:
uniform sampler2D uCarveTexture;

varying vec2 vUv;

void main() {
  // Get displacement for this vertex from carve texture
  float depth = texture2D(uCarveTexture, uv).a;
  vec3 displacedPosition = position - 10.0 * depth * normal;
  gl_Position = projectionMatrix * modelViewMatrix * vec4(displacedPosition, 1.0);
  vUv = uv;
}
Almost reads better than when written out in English, no? Notice that when calculating the displacedPosition, GLSL understands that we are operating on 3D vectors, so we can write this pretty succinctly, correctly handling scaling a vector by a scalar, as well as vector addition.
Also note how when retrieving the depth, we only look at the alpha channel. texture2D returns a 4D RGBA vector representing the color at that point, where the alpha can then be retrieved using color.a.
Here’s how it looks:
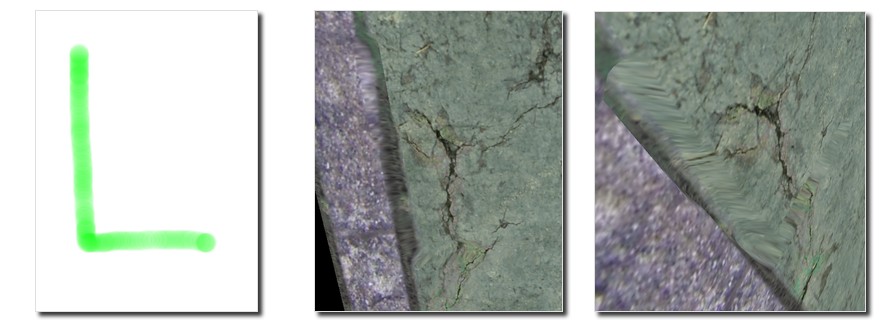
Hmm, not so great. If you look closely, you can see that the surface is deformed according to the “L” shape drawn on the left. However, as the color of the pixels is unchanged, it is quite hard to see, especially when looking straight on.
Depth highlights
In real life, we’d easily notice the depth as the surface would be lighter or darker depending the angle of the surface relative to the direction of the light, as well as shadows cast. For now, we’ll just make the material darker based on how deep we’ve dug into it, and leave the complexities of the correct lighting to a future post.
To implement this, we’ll pass the depth to the fragment shader, by assigning it to a varying variable vDepth and use that to modify the color of the pixels. Here’s how our fragment shader will end up looking:
uniform sampler2D uTexture;

varying float vDepth;
varying vec2 vUv;

void main() {
  vec4 color = texture2D(uTexture, vUv);
  vec4 dark = vec4(0, 0, 0, 1.0);
  color = mix(color, dark, 0.5 * vDepth);
  gl_FragColor = vec4(color);
}
No surprises here, I hope. The only new thing is the mix function, which takes two values and mixes them together, based on a weighting parameter (here 0.5 * vDepth). The effect is that for a zero vDepth, the pixel color is unchanged, while for the maximum vDepth, 1.0, the pixel is darkened by mixing the original value 50:50 with solid black.
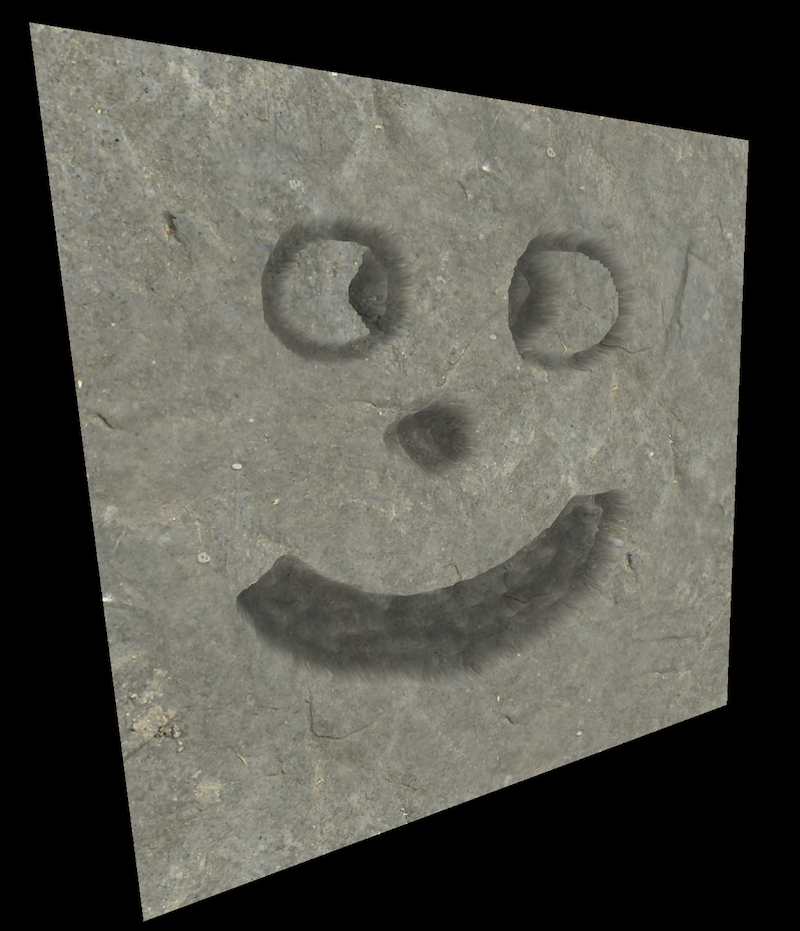
Here’s the result, much better:
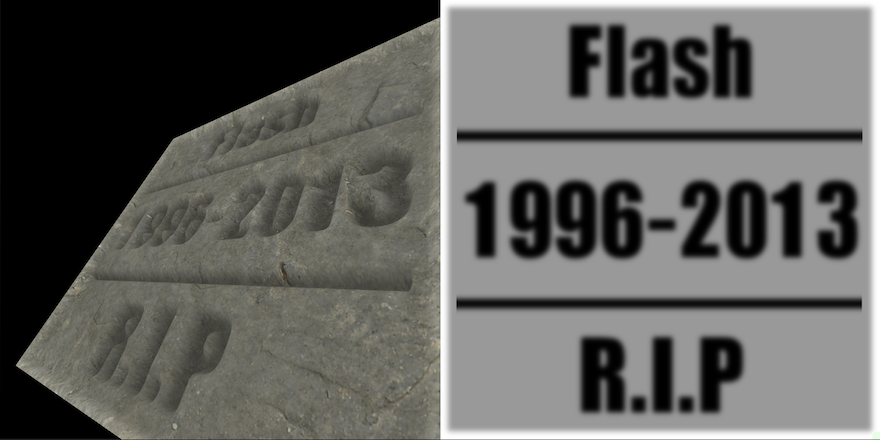
Get carving
Of course, the best way to see the effect is to play with the demo. I’ve added a couple of buttons to toggle the carving on/off, and to load an image to the canvas, if you’re not feeling artistic yourself. The code is up on github if you’d like to play around with it.