Introduction to images in Go - part 2
This post is part of a series. For a listing of all the posts, as well as instructions on running the code, see here.
In the previous post we looked at how to create a Canvas type onto which we could draw a gradient.
While gradients are all fun and games, to really start drawing we need to be able to draw lines onto our canvas. To do this we’ll need some way of representing points on the canvas. The image type in Go comes with a Point type, however this takes it’s coordinates as integers and to represent lines exactly we’ll want to work with floating point types.
Vector type
Defining a Vector type is pretty straightforward:
type Vector struct {
  X, Y float64
}
We’ll also want some utility methods to allow us to add or subtract vectors, get their length, and rotate and scale them. Here is how we’d add the Rotate function (the rest can be seen in the code example on github):
func (v *Vector) Rotate(angle float64) {
  cos, sin := math.Cos(angle), math.Sin(angle)
  v.X, v.Y = v.X*cos+v.Y*sin, v.Y*cos-v.X*sin
}
Given that you code is growing a bit, to keep things tidy we’ll define the Vector type in its own file, vector.go, rather than including it directly in our programs. We’ll also do the same for the Canvas. As the file is part of the same package if we use go build to run it we’ll just pick up the method definitions. However when using go run it is necessary to specify both files e.g. go run lines.go canvas.go vector.go.
Full vector.go source on github
Drawing lines
Ok great, so we have ourselves a vector type, let’s use it to draw a line. To do this we’ll create a function that takes a start vector and an end vector and draws the line pixel by pixel between them. For now we won’t worrying about antialiasing and just round to the nearest pixel each time we draw.
Instead we’ll draw the line using the following process:
- Get the vector
delta = end - start, that represents the line - Normalize this vector to unit length
- Draw a pixel at the
startpoint and then move along the line, by the displacement given by our normalizeddeltavector. - Draw another pixel and move along again, repeating this until we get to
end
Whenever we draw a pixel we will be snapping our precise floating point position to the nearest pixel, and this will lead to antialiasing. In code the above becomes:
func (c Canvas) DrawLine(color color.RGBA, from Vector, to Vector) {
  delta := to.Sub(from)
  length := delta.Length()
  x_step, y_step := delta.X/length, delta.Y/length
  limit := int(length + 0.5)
  for i := 0; i < limit; i++ {
    x := from.X + float64(i)*x_step
    y := from.Y + float64(i)*y_step
    c.Set(int(x), int(y), color)
  }
}
Now we can draw things like this:
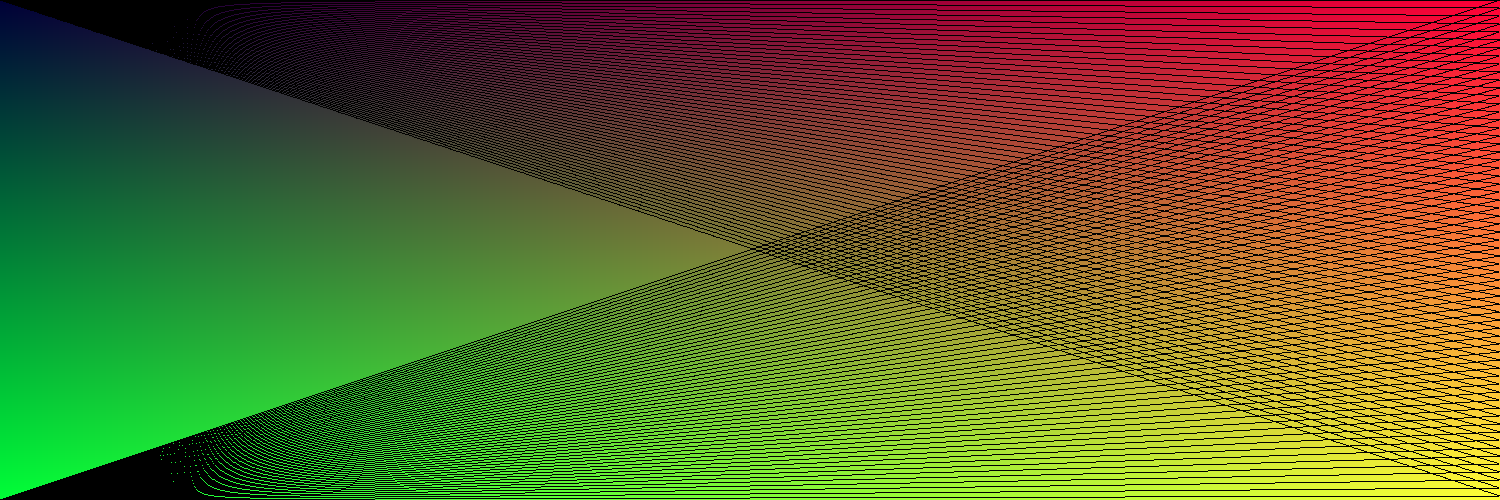
Full lines.go source on github
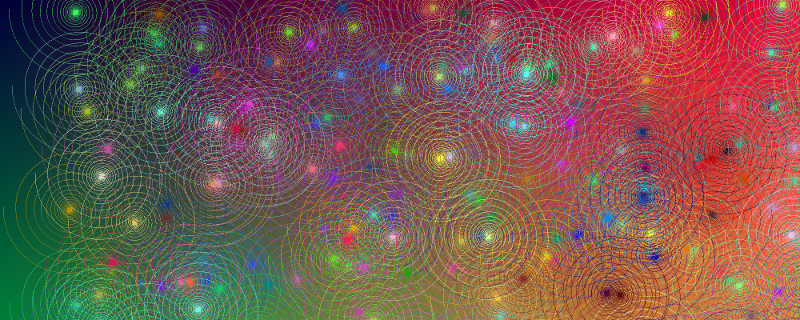
Drawing a spiral
Drawing a spiral is pretty straightforward now, especially as our Vector type support scaling and rotating. The process is:
- Start with a vector
v, e.g. {0, 1} and a positionp, e.g. {0, 0} - Draw
vonto the canvas, at positionp - Displace
pbyv - Rotate
vand scale it down - Repeat from step 2. until
vbecomes sufficiently small
So, in Go-speak:
func (c Canvas) DrawSpiral(color color.RGBA, from Vector) {
  dir := Vector{0, 5}
  last := from
  for i := 0; i < 10000; i++ {
    next := last.Add(dir)
    c.DrawLine(color, last, next)
    dir.Rotate(0.03)
    dir.Scale(0.999)
    last = next
  }
}
Great, now all that remains is to create an 12 foot poster from our “spiral-art” attach it to the ceiling, and lie on the floor forever more.